STAS windsor & riva wooden rail
Our wooden picture hanging rails are FSC and PEFC certificated - Weight capacity 20 kg/m
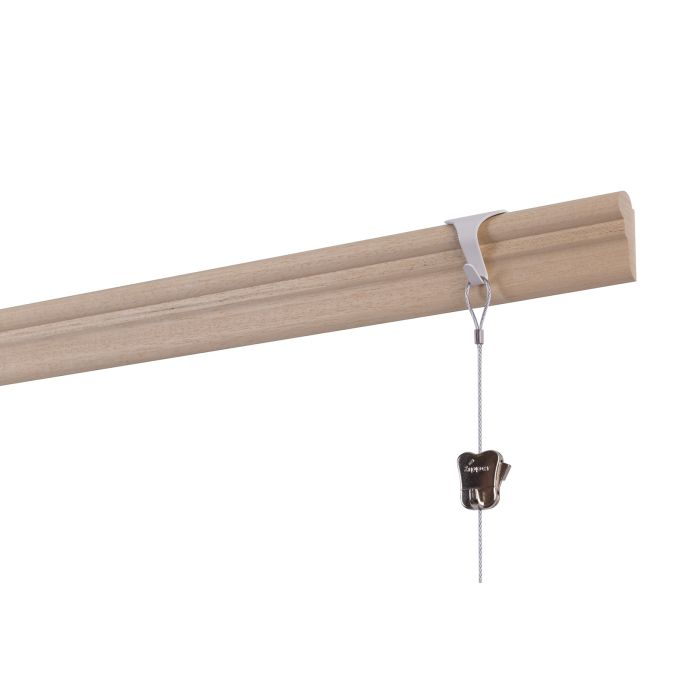
In addition to aluminum rails, STAS also offers wooden rails in 2 different models. The STAS windsor is elegant and warm where the STAS riva has a more robust look and feel. Both models are easy to use and each has a different profile for which fitting hooks are available.
Our wooden rails are made out of Ayous wood and are FSC and PEFC certificated. Ayous wood differs from other wood since it does not deform nor splinter, and perfectly suitable to repaint because of its smooth texture. Perfect wood for your picture hanging system! Can be mounted screwed, nailed and glued*.
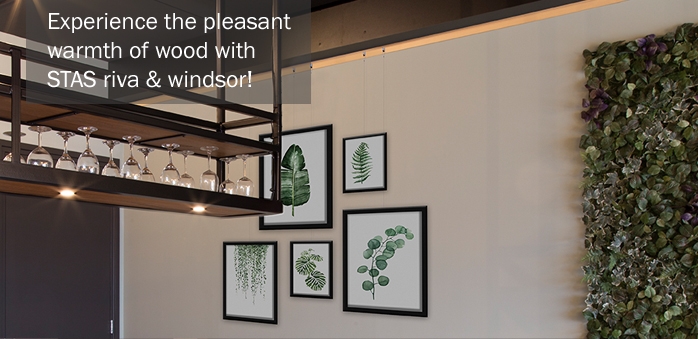
Experience the pleasant warmth of wood in your interior!
* The bearing capacity of a glued rails is highly dependent on the surface, so care must be taken here. More information on how to best glue our wooden rails can be at the bottom of this page.

Features STAS windsor:
Dimensions: 18 x 45 mm
Length: +/- 240 cm
Material: Ayous wood
Installation: wall mountable, not adjoining to ceiling
Weight capacity: 20 kg/m
Warranty: 5 years
Features STAS riva:
Dimensions: 17 x 45 mm
Length: +/- 240 cm
Material: Ayous wood
Installation: wall mountable, adjoining to ceiling
Weight capacity: 20 kg/m
Warranty: 5 years
STAS windsor & riva have their own collection of hooks, which can be combined with the existing hooks and cords from STAS:
STAS riva: HW50700
STAS windsor:
HW10200 white
HW30200 alu
HW60200 gold

The following hooks and cords can be used in combination with this system:
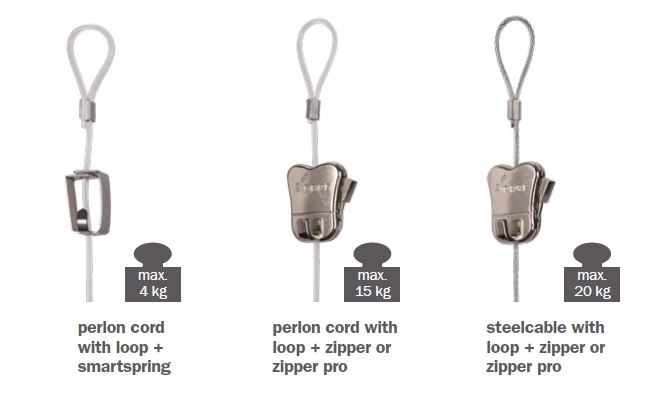
STAS smartspring on STAS perlon cord with loop (can be loaded up to max. 4 kg)
STAS zipper on STAS perlon cord with loop (can be loaded up to max. 15 kg)
STAS zipper on STAS steel cable with loop (can be loaded up to max. 20 kg)

Download:
Installation manual | Architect drawing | Productinfo
Mounting videos : STAS riva mounting with screws and glue
Mounting videos : STAS windsor mounting with screws and glue
5-Step Plan for glueing the STAS riva & STAS windsor
Step 1: Assess the surface
When glueing the STAS wooden rails it’s very important that the surface is well fixed and firm. This goes especially for wall paper. The wall paper must have been applied tightly and evenly to allow the STAS wooden rails to adhere as well as possible.
Step 2: Pick the right glue.
We recommend a glue that is especially designed to offer a very good adhesion on wooden surfaces. We advise you to go see your local DIY store for further recommendations.
Step 3: Pretreatment
Make sure that the surface and the STAS wooden rails are clean, dry, dust- and grease free before you start glueing.
Step 4: Glueing
The glue can best be applied in strokes (so don’t cover the whole rails in glue). Once the glue is applied you can place the STAS wooden rails on its surface (make sure it’s level!). The STAS wooden rails can at this point still be adjusted. When the rails are in the right place you can exert pressure so that the STAS wooden rails is well attached to the surface. Then allow the glue to dry for 24 hours.
Step 5: Hang your wall decoration
Hang your favorite wall decoration using the STAS hooks and cords and admire the result!


